
Finish the Boards
Seal the wood so weather and beer don’t wreck your work—sand the frame, go easy on the top, coat every edge and underside.
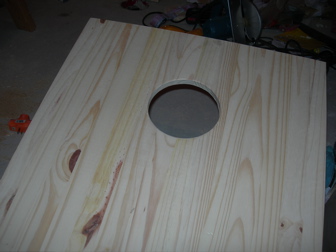
Raw pine looks honest for about one afternoon. Then humidity shows up. Finish the boards.
Don’t oversand the top
Don’t sand the playing surface glass-smooth (or at all, if you’re feeling spicy). Bags need a little grab. A bowling-alley polish turns every throw into an escape attempt.
Sand everything else
Frame, legs, and underside still want a progressive grit pass before finish: 80 → 120 → 220. Knock down fuzz and sharp corners so stain or clear coats don’t telegraph every saw mark. The top stays honest; the rest can look like you tried.
Poly / varnish
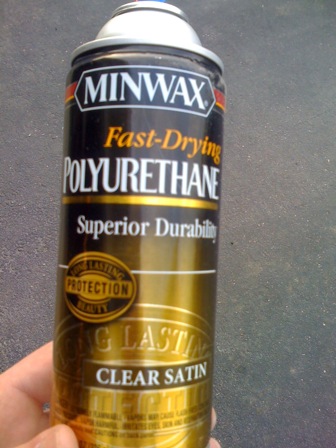
Minwax Helmsman Spar Urethane Satin spray is the move for structural sealing—outdoor-tough clear finish without turning the top into a skating rink. Thin coats beat one gloppy mess.
Seal the edges and underside, not just the face. Water sneaks in from everywhere; the bottom of a board sitting on wet grass is not “optional.”
Going stain instead of paint later? Stain the sides and legs too—not just the playing surface—or the set looks half-dressed from the beer cooler angle.
Brush like you mean it
A decent brush (Purdy or similar) leaves fewer streaks than the free stick from the hardware store. You’re not restoring a yacht—just don’t leave drip dams for bags to hit.
Next: dress the design
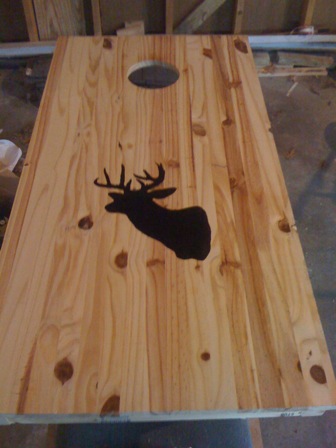
Structural seal first. Paint, stencils, and decals come in the next step—then a final clear over the artwork so your logo doesn’t peel off mid-tournament.