
Dress ’Em Up
Plan the design, prime, paint or stencil, seal over the artwork—then grab bags and prove the boards belong in the yard.
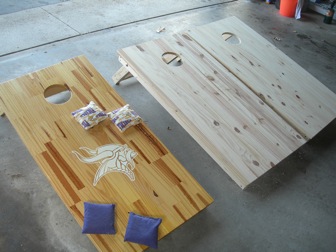
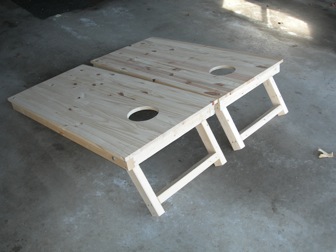
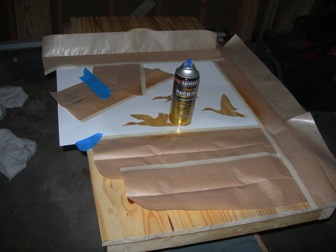
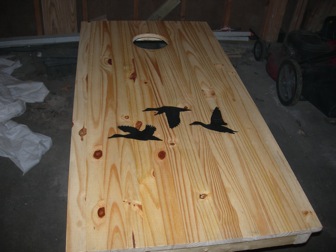
This is where store-bought boards lose. Construction gets you regulation. Decoration gets you the set people remember.
Keep the hole clear the whole way. Thick paint ridges and gloppy clear coats make bags catch—and arguments start.
1. Plan your design
Mock it up before you commit paint to wood.
- Sketch on a tablet (Procreate, Freeform, whatever you already have) and try color combos risk-free.
- Or throw a cheap portable projector at the board and trace the outline—team logos, lettering, fruit, flags, the works. Trace once, paint with confidence.
Build a matching pair with the same palette across both boards. Independent “art projects” look cool in photos and weird across a lawn.
Idea starters
Pick a lane and run it:
- Distressed American flag
- Sports team colors / logos
- Personalized family name or initials
- Citrus / fruit novelty (yes, lemon boards exist and people love them)
- Corn kernels & husks for the “it’s literally cornhole” bit
- Clean two-tone with a bold stripe under the hole
2. Prime & base coat
Painting a design? Don’t skip primer.
- Two coats of wood/craft primer, light sand between coats.
- Lay a solid base color before detail work.
- Leftover house paint from another project is fair game if the color’s right—boards don’t care about the brand sticker.
Staining instead of painting? Hit sides and legs with the same stain as the face so the set looks finished from every angle.
3. Paint, stencil, or vinyl
Acrylic craft paint is the workhorse for designs. Layer background colors carefully so they don’t go muddy. High-contrast accents pop; muddy pastels disappear at dusk.
Vinyl stencils & decals
Most of the crisp lettering and flags you see online aren’t freehand—they’re vinyl cut on a Cricut / USCutter-style machine, then laid down with transfer tape.
- Cut the design, weed it, burnish transfer tape on top.
- For big sheets: hinge the transfer tape from one edge and roll it down—don’t drop an 8-foot sheet flat and pray.
- Initials, team marks, and family names are the easy win if freehand painting isn’t your hobby.
Distressed / rustic stencil look
- Stain the wood dark first.
- Lay the stencil.
- Dab / stipple white (or light) paint—don’t brush hard—so some stain shows through.
You get a weathered flag look and less bleed under the stencil edge.
4. Seal the design
After paint, stain, or decals cure, add a dedicated top-coat over the artwork—separate from the structural sealing in Step 5.
- Satin Helmsman (or similar) keeps glare down and still slides.
- Clear gloss polyurethane is the other popular call when you want a smoother bag slide over painted art.
Thin coats. Edges and hole rim included. Let it cure before the first beer-league challenge.
Bags complete the set
Regulation boards want regulation bags. Buy a solid set, sew your own, or keep an eye out—we’re angling for a proper bag-maker partnership so this page gets even better later.
Play them in
Take them outside. Airmail a few. If a leg wobbles or a bag catches an edge, fix it now.
You built boards. Store shelves can keep their markup.